Using Appcompanist
Edit Features
Scroll down to view a full tutorial video of this feature.
Tap the “Edit” icon to display the Edit Controls and activate any markers, cuts or loops you may have previously added to the piece. Note that the “Clear” “Cut” “Loop” and controls will only appear when the player is stopped.
To place markers, tap the “Marker” icon any time during play or while the piece is stopped. A marker will appear above the song position slider at the exact point at which you tap. You may add as many markers as you like within a piece.
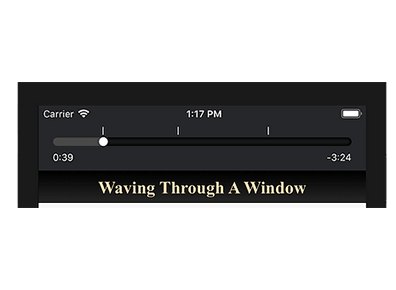
Tap any marker to go immediately to that point in the recording, or use the forward/back arrows on the outsides of the play controls to quickly jump forward or backward through the markers you’ve placed in the piece. To remove a marker, simply tap on the marker and tap the “Marker” icon again.
You can choose to make a “Cut” or a “Loop” out of any segment between two markers. (Note that the start and end of the piece are also treated as markers for the purpose of creating segments)
Locate the segment you want to cut or loop by tapping on the marker to the left of any segment, tapping anywhere within the segment between markers, or dragging the song position indicator anywhere between two markers or between a marker and the start or end of the piece.
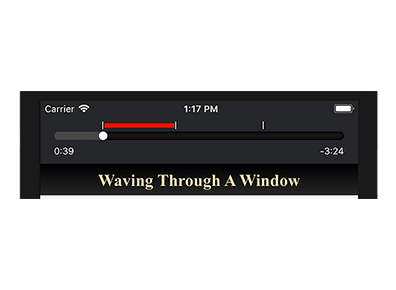
To turn that segment into a cut, tap the “Cut” icon. A red line will appear over the cut segment allowing the piece to play smoothly up to the left marker of the cut, skipping directly over the cut section, and continuing precisely from the right marker of the cut. To remove the cut, simply tap on the “Cut” icon again while in that segment, or tap on the “Loop” icon to change that segment from a cut to a loop.
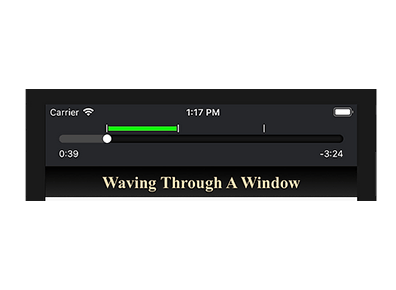
To turn any segment into a loop, tap the “Loop” icon while in that segment. A green line will appear over the looped segment allowing the piece to play from the left marker to the right marker, then jump back and continue playing again from the left marker. The loop will continue until the loop is removed or the edit controls are turned off. To remove a loop, simply tap the “Loop” icon again while in that segment, or tap the “Cut” icon to change that segment from a loop to a cut.
Special Note on Cuts and Loops: By precisely timing the markers you place, you can create smooth musical cuts within any piece for future rehearsal or audition preparation. You can even create vamps by looping a specific segment, letting it play as many times as you need, then tapping to turn off the edit controls or remove the loop to let the piece continue when you’re ready. Slowing the tempo while you place markers is a great way to get exactly the musical effect you want.
If you remove a marker that is connected to a single Cut or Loop segment the segment is also removed. If you remove a marker that is connected to multiple segments the segments formerly to the right and left of the removed marker are now joined as one segment for the purpose of creating new cuts or loops.
To clear all markers and edits within a piece, simply tap the “Clear” button to the left of the Loop button. If you happen to tap “Clear” accidentally, you can tap “Undo” to put all the markers, cuts and loops back as they were. However, if you “Clear” and then leave the pieces and come back to it, you will no longer have the option to undo that clear.
All marks, cuts, and loops are saved automatically for each piece. You can always activate and deactivate your saved edits by tapping the “Edit” icon to turn the controls on or off. If the controls are visible, they are active, and if not, they are not active and the piece will play as though the saved edits don’t exist.
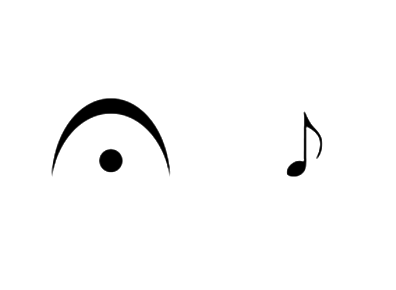
While stopped, before pressing Fermata, you can also double check the pitch of your next melody note as many times as needed by clicking the “eighth note icon” to the right of the “Fermata” button.